
Table of Contents
You may be surprised by the dramatic difference a little stain can make on plain concrete. Learning how to stain concrete opens up a world of design possibilities, allowing you to transform drab surfaces into polished focal points. Whether you’re updating a patio, revamping a garage floor, or giving an indoor slab a facelift, concrete staining delivers a durable, eye-catching finish without breaking the bank. Best of all, it’s a process you can tackle on your own. By following a few key steps, you’ll be ready to embrace a fresh look that enhances your home’s overall aesthetic.
In this guide, you’ll discover the essential tools, materials, and techniques to help you achieve professional results. You’ll learn how to assess concrete surfaces, prep them for staining, apply stain for a consistent color, seal the final product for lasting protection, and maintain that showroom shine. Staining concrete is more than a weekend chore—it’s a creative project that adds value and personality to your surroundings. So get ready to roll up your sleeves, because your concrete is about to become a conversation starter.
Why Stain Your Concrete?
When you think of concrete, you might imagine cold, gray sidewalks or bland garage floors. However, once you know how to stain concrete, you’ll see it as an opportunity to add warmth and style to your home. Here are a few reasons why staining is worth your consideration:
- Aesthetic Appeal: Concrete stains come in a variety of tones, from earthy browns to subtle blues. You can even layer multiple colors for a marbled, artistic appearance.
- Durability: Properly applied stains and sealers offer a protective layer against moisture, foot traffic, and everyday wear and tear.
- Cost-Effectiveness: Compared to more expensive flooring materials like hardwood or tile, staining an existing slab is often more budget-friendly.
- Versatility: The method works both indoors and outdoors, giving you a continuous design feel from your patio to your living room.
- Low Maintenance: Once sealed, stained concrete is easy to keep clean with occasional sweeping and mopping.
Gather Your Tools and Materials
Before you start the process, it’s vital to have everything on hand to ensure a smooth workflow. Assemble the following items:
- Protective Gear: Safety goggles, gloves, and sturdy footwear
- Cleaning Supplies: Broom, vacuum or shop vac, mild detergent, and scrub brush
- Concrete Cleaner or Etcher (if needed): Formulated to remove tough stains, grease, or sealers
- Painter’s Tape and Plastic Sheeting: For protecting walls, trim, and adjacent surfaces
- Concrete Stain: Choose a water-based or acid-based stain in your preferred color(s)
- Applicators: Paintbrushes, rollers, or spray applicators (depending on the type of stain)
- Bucket of Water and Rags: Useful for quick cleanups or diluting stain if necessary
- Neutralizing Solution (for acid stains): Baking soda and water mixture to halt the chemical reaction
- Concrete Sealer: A quality sealer to lock in your stain and protect the surface long-term
Having these items ready before you begin ensures you won’t be scrambling mid-project, which can lead to uneven color or other issues.
Step 1: Evaluate and Clean the Surface
Your first task is to assess the condition of the concrete. Look for existing coatings, paint, or sealers that could prevent the stain from penetrating effectively. Also keep an eye out for grease, oil, or other stubborn stains. These contaminants can create blotchy areas if not handled properly.
- Remove Debris: Sweep away dust and loose dirt.
- Scrub Stubborn Spots: Use a concrete cleaner or mild detergent to target spills or deep stains.
- Check for Sealer: If the concrete is sealed, you’ll need a specialized product or mechanical grinding to remove it so the stain can penetrate.
- Rinse Thoroughly: After cleaning, rinse the surface with water and let it dry completely. If you notice water beading on the surface, that’s a sign it might still have a sealer. Keep working until water soaks in evenly.
A clean surface is crucial for success when you want to learn how to stain concrete. Dedicate extra time to prepping at this stage; your efforts now will pay off with a smoother application later.
Step 2: Prepare the Area
With the concrete clean, you’re almost ready to apply your stain. Before you dive in, take a moment to protect surroundings that you don’t want stained:
- Tape Off Edges: Apply painter’s tape to the base of walls, door frames, steps, or any edge that touches the concrete.
- Use Plastic Sheeting: Cover nearby objects like furniture or plants if you’re staining outdoors. Over-spray or drips happen, and stain can be notoriously hard to remove.
- Ventilate: If you’re working indoors, open windows or use fans. This helps dissipate fumes and speeds up drying time.
- Test a Small Area: If possible, perform a quick test patch in an inconspicuous spot. This preview helps confirm color and absorption rate before you apply stain over the entire surface.
By taking these steps, you’ll ensure that the only thing turning color is the concrete itself, saving you from accidental stains on walls or trim.
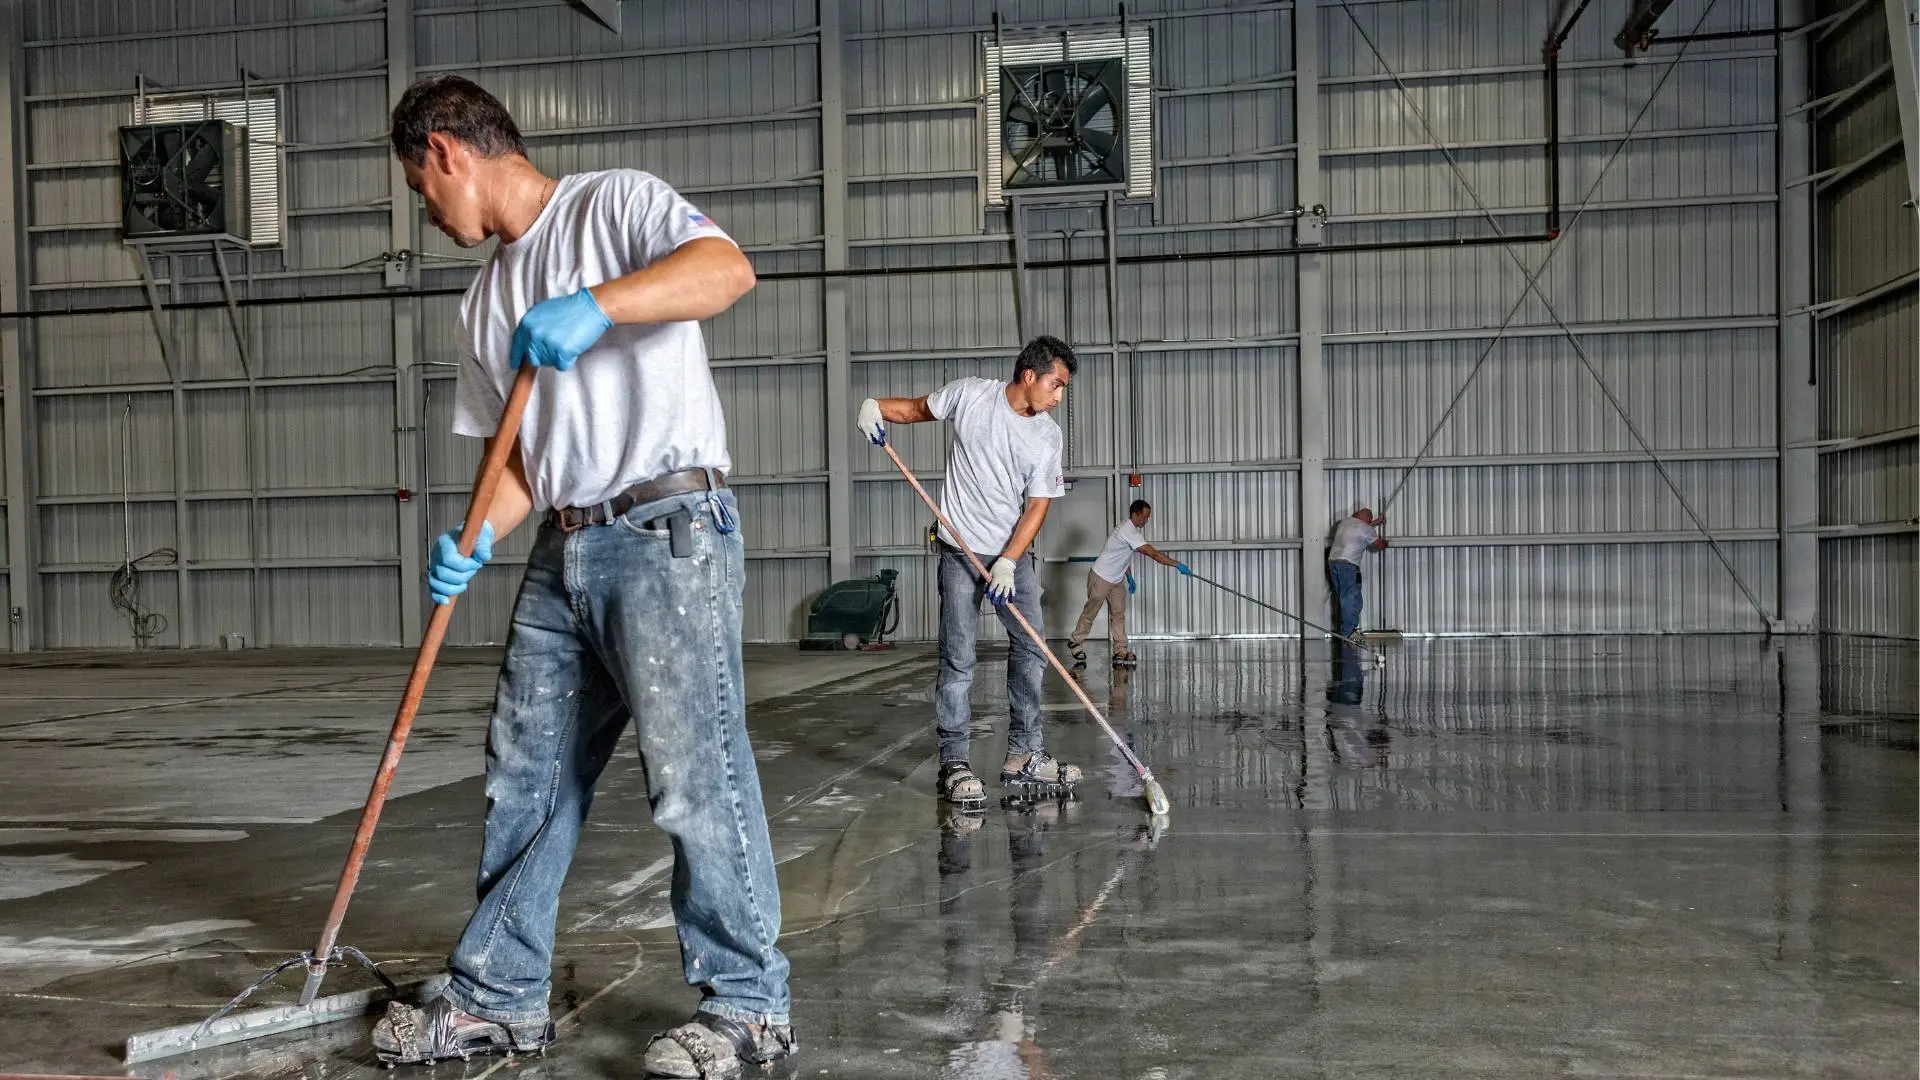
Step 3: How to Stain Concrete with Confidence
Here’s where the real transformation begins. Whether you opt for an acid-based or water-based product, always follow the manufacturer’s instructions for mixing and application. Here’s a general guide:
- Mix the Stain: Stir it well to ensure the pigments distribute evenly. Some stains may require thinning with water; consult the label for specifics.
- Apply Evenly: Work in small sections, using either a pump sprayer, roller, or brush. Avoid letting the stain pool in any area, and strive for a uniform coating.
- Maintain a Wet Edge: Overlap each pass slightly to prevent visible “start-stop” lines.
- Watch Your Technique: If spraying, keep the nozzle in constant motion for an even coat. If rolling or brushing, try to work in broad, consistent strokes.
- Multiple Coats: Depending on how rich you want the color, you might apply additional coats. Let the first coat dry thoroughly before deciding if you need a second pass.
- Ventilation and Drying: If indoors, keep your workspace ventilated to speed up drying. Outdoor projects benefit from a sunny day but watch out for direct wind that can cause inconsistent drying patterns.
Don’t worry if the color looks slightly different at first. Stains often appear lighter or darker until they fully dry and cure. Patience is key. You’ll see the final, beautiful hue once the surface is completely dry.
Step 4: Neutralize and Clean (For Acid Stains)
If you chose an acid-based product, you’ll need to neutralize the surface after the stain has had time to react. This step ensures the acid is fully neutral and stops any further chemical activity:
- Prepare the Solution: Mix one part baking soda with about five parts water (or follow any neutralizing recommendation on your stain’s label).
- Apply Generously: Spread the solution across the concrete with a mop or brush. You might notice fizzing or slight bubbling—this is normal.
- Scrub Lightly: A gentle scrub helps eliminate any residue.
- Rinse Thoroughly: Use clean water to wash away the neutralizing mixture. Check for any leftover bubbles or slick spots; rinse again if necessary.
- Dry Completely: Allow the concrete to dry fully. This might take a few hours to a couple of days, depending on humidity and temperature.
If you used a water-based stain, you can skip this neutralizing step. However, always give the newly stained surface a quick wipe-down or rinse to remove any dust or footprints before sealing
Step 5: Seal and Protect
Your concrete likely looks fantastic at this point. To lock in that color and protect your new finish, add a quality sealer. This protective layer guards against moisture, foot traffic, and stains:
- Choose the Right Sealer: Select a product compatible with your stain type—water-based sealers pair well with water-based stains, while some acid stains require specific sealers.
- Apply in Thin Coats: Follow the manufacturer’s instructions for coverage and curing time. Use a roller or sprayer to lay down an even layer.
- Wait Before Use: Most sealers need several hours to dry to the touch. For heavy foot traffic or moving furniture back in place, wait the recommended curing time (often 24 to 72 hours).
- Consider Slip Resistance: If you’re sealing a high-traffic or outdoor area, you may want to add a non-slip additive to the sealer.
Sealing is the finishing touch that helps your concrete resist wear while preserving the color’s vibrancy. Think of it as the final puzzle piece in mastering how to stain concrete.
Maintenance Tips for Long-Lasting Beauty
Stained concrete can maintain its allure for years with minimal effort. Keep these tips in mind:
- Regular Cleaning: Sweep or vacuum indoor surfaces and hose off outdoor slabs periodically to remove dirt.
- Gentle Cleansers: Skip harsh chemicals and opt for pH-neutral cleaners when it’s time for a deeper clean.
- Reseal as Needed: High-traffic areas might need resealing every 1–3 years, while less-traveled zones can go longer. Monitor the surface; if you notice the stain looking dull or the surface losing its sheen, it’s time for a fresh seal coat.
- Avoid Abrasive Tools: Steel wool or stiff-wire brushes can scuff the sealer, so stick to soft-bristle brushes, microfiber mops, or gentle scrub pads.
With a bit of routine care, you’ll keep that new stain looking showroom-fresh.
Troubleshooting Common Issues
No DIY project is flawless every single time. When working out how to stain concrete, you may encounter a few hiccups:
- Uneven Color: Often caused by residual sealers, grease, or inconsistent cleaning. Stripping the sealer and reapplying the stain in uneven areas can help.
- Cloudiness Under the Sealer: This usually means the concrete wasn’t fully dry before sealing. You may need to remove the sealer, let the concrete dry thoroughly, and reapply.
- Drips or Overlap Marks: Occur when the applicator isn’t kept in constant motion. Sanding gently or applying another coat can sometimes blend the marks.
- Peeling or Flaking: If the stain or sealer can’t adhere properly (often due to moisture issues), the top layer may peel. Removing the affected sections, resolving any moisture problems, and re-staining is the best approach.
Tackle issues as soon as they arise to preserve your stunning surface and prevent further damage.
Your Concrete Makeover Moment
By now, you’ve discovered that how to stain concrete is more than a simple home improvement project—it’s a chance to showcase your creativity. Each stain coat reveals new nuances, from subtle variations in tone to gorgeous marbling. With proper cleaning, prep work, staining, and sealing, you can confidently update your indoor or outdoor floors.
Beyond the technical process, staining your concrete allows you to exercise your style in a unique way. Whether you’re drawn to earthy browns that evoke natural stone or prefer bolder tones that make a statement, concrete staining turns functional surfaces into design features. There’s also a sense of pride in doing it yourself. When guests admire your floors or your patio, you get to say, “I did that.”
This is your moment to put a personal stamp on your property. Take time to perfect each step, and don’t be afraid to mix techniques or colors for a custom finish. The beauty of concrete staining lies in the endless possibilities—and you hold the brush (or sprayer). Enjoy the transformation, and take pride in showcasing a new surface that’s both practical and visually stunning.

