Table of Contents
From Prep to Finish: The Epoxy Flooring Process Explained is your roadmap to turning a dull slab into a showroom-worthy surface. You’ll learn how to evaluate, clean, repair, profile, coat, and maintain your floor so the epoxy bonds tightly and looks stunning for years. Each phase builds on the last, so resist the urge to rush—your patience pays off in durability and shine.
Step 1 – Inspect and Test Your Concrete
Check Structural Soundness
- Cracks & Chips: Mark anything wider than a credit-card edge for repair.
- Spalling & Weak Spots: Tap suspect areas with a hammer; hollow sounds signal deeper issues.
Measure Moisture & pH
- Plastic-Sheet Test: Tape down clear plastic for 24 hours—condensation means extra drying or a moisture-mitigation primer.
- pH Strips: Aim for 7–9; high alkalinity can undermine adhesion.
Pro Tip: Document findings and store photos. They guide repairs and help you judge when the slab is truly ready.
Step 2 – Deep Clean and Decontaminate
- Dry Sweep or Vacuum loose debris.
- Degrease Oil Spots: Use a biodegradable degreaser and stiff nylon brush. Rinse and vacuum slurry immediately.
- Detergent Scrub: Apply a neutral-pH cleaner with a floor scrubber or microfiber mop.
- Final Rinse: Remove all residues; leftover soap forms a bond-breaking film.
Your goal is a surface that feels like medium-grit sandpaper under bare skin—clean but not glossy.
Step 3 – Repair and Patch Imperfections
Crack Filling
- Chase cracks with an angle grinder to create a “V” groove.
- Inject two-part epoxy filler or polyurethane caulk; trowel flush.
Spall & Hole Patching
- Feather-edge damaged zones with a grinder.
- Blend a rapid-setting patch compound; press firmly into voids and level.
Let repairs cure fully (typically 30–60 minutes for fast-set fillers, longer for deep patches) before moving on.
Step 4 – Create the Ideal Surface Profile
Epoxy needs a roughened profile, similar to 80-grit sandpaper, for mechanical grip.
Option A: Diamond Grinding
- Attach 16–40 grit metal-bond diamonds to a walk-behind grinder.
- Overlap passes by one-third; vacuum dust between passes.
Option B: Shot Blasting
- Steel shot impacts and abrades simultaneously.
- Excellent for large commercial slabs; minimal dust when connected to a HEPA vac.
Option C: Acid Etching (DIY Alternative)
- Mix a 1:4 muriatic-acid solution (or choose a safer citric blend).
- Scrub evenly, let it fizz 8–10 minutes, then neutralize with baking-soda rinse.
Whichever route you choose, perform a water-drop test: droplets should darken the concrete instantly, proving open pores.
Step 5 – Final Dust Removal
Even microscopic dust can block adhesion. After profiling:
- Vacuum with a HEPA filter.
- Tack-cloth the surface or use an ion-charged microfiber pad.
- Check your shoes—grit on your soles undoes hours of prep.
Step 6 – Prime for Penetration (Optional but Powerful)
A penetrating primer:
- Seals remaining porosity.
- Promotes chemical bonding.
- Color-codes the floor, making missed spots obvious when you roll the basecoat.
Mix the primer per manufacturer ratios, pour in ribbons, and back-roll with a 3/8-inch nap roller. Allow the primer to become tack-free (fingerprint-sticky but not wet).
Step 7 – Mix and Apply the Base Epoxy Coat
- Temperature Check: Ensure slab and air are 60–80 °F; extremes shorten or lengthen working time.
- Combine Part A & B: Mix slowly for two minutes, scraping bucket sides.
- Dump & Spread: Pour out in “rivers” to reduce bucket heat-up.
- Roll North-South, Then East-West: Cross-rolling eliminates roller lines and evens thickness (typically 10 mil).
Work quickly—you have 20–40 minutes of pot life.
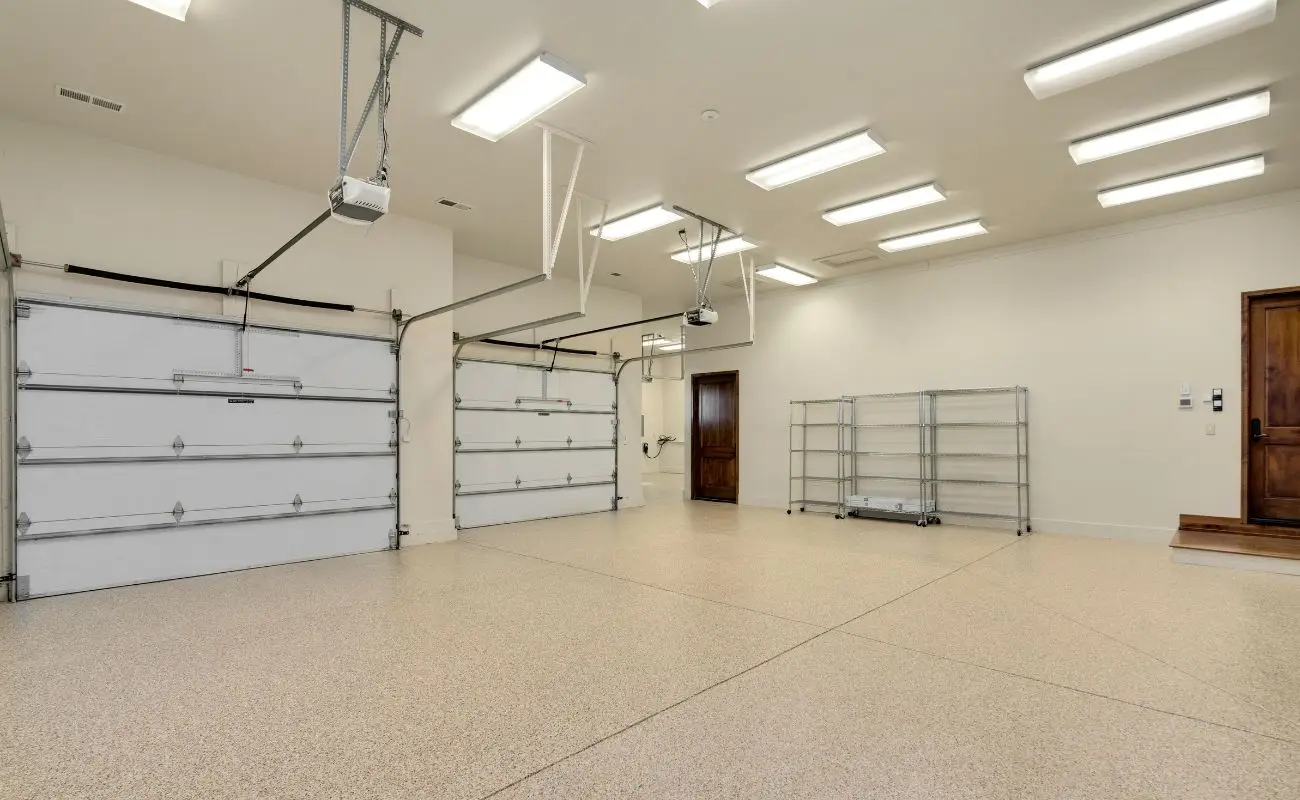
Step 8 – Add Decorative Flakes or Quartz (Optional)
While the basecoat is still tacky:
- Broadcast Flakes: Hold the bucket at chest height for even sprinkle.
- Full or Partial Coverage: Go full for a terrazzo look; partial for subtle texture.
Allow the coat to cure until you can walk on spikes without leaving marks (4–8 hours).
Step 9 – Scrape, Vacuum, and Topcoat
- Knock Down Flakes: Use a floor scraper at a shallow angle.
- Vacuum Again to remove loose particles.
- Mix Topcoat: Clear epoxy or polyaspartic for UV stability.
- Roll Out Evenly: Maintain wet edge; aim for 8–12 mil.
Cure times vary: epoxy (12–24 hours light traffic), polyaspartic (4–6 hours light traffic).
Step 10 – Curing, Cleanup, and First Use
- Dust-Free: 12 hours (polyaspartic) or 24 hours (epoxy).
- Foot Traffic: After a dust-free window.
- Vehicle Traffic: 3 days (polyaspartic) or 5–7 days (epoxy).
- Full Chemical Resistance: Up to 7 days; avoid harsh cleaners until then.
Place soft rubber pads beneath tires the first week to prevent imprinting.
Step 11 – Long-Term Care and Maintenance
- Weekly Dust Mop to remove grit.
- Monthly Neutral-pH Wash with microfiber pad.
- Prompt Spill Cleanup—epoxy resists chemicals, but long exposure can stain.
- Annual Inspection: Touch-up scratches with a mini-kit before they widen.
Treat your floor kindly and it can outperform tile, vinyl, and even polished concrete for decades.
Ready to Transform Your Space?
You now have the full journey from prep to finish mapped out. Follow each step, respect curing times, and your new epoxy floor will turn heads, shrug off abuse, and boost property value. Grab your tools, block out a weekend, and get ready to enjoy a surface that looks as good as it performs


