
Table of Contents
Are you planning an epoxy project and feeling a bit uncertain about epoxy set time vs cure time? You’re not alone. Many DIY enthusiasts and even professionals wonder how these two timeframes differ, and more importantly, how they affect your final outcome. Understanding the distinction between “set” and “cure” is your key to getting stronger, more durable floors that consistently meet (and exceed) your expectations. In this post, you’ll discover what set time actually means, why cure time isn’t the same thing, and how controlling both can help you achieve the high-performance surface you’ve been dreaming of.
Why You Need to Know the Difference
When you invest in an epoxy coating project, your main goal is usually durability and aesthetics. However, if you rush the process or confuse set time with cure time, you risk ending up with a floor that scratches easily, fails to bond properly, or looks unfinished. By understanding exactly how epoxy transforms from a liquid mixture into a solid surface, you’ll be able to fine-tune your project timeline, choose the best products, and avoid common pitfalls.
Below, you’ll find a clear explanation of these two crucial stages of epoxy’s chemical transformation. After reading, you’ll be armed with the knowledge you need to schedule your work correctly, plan for foot traffic, and maintain the longevity of your newly coated floors.
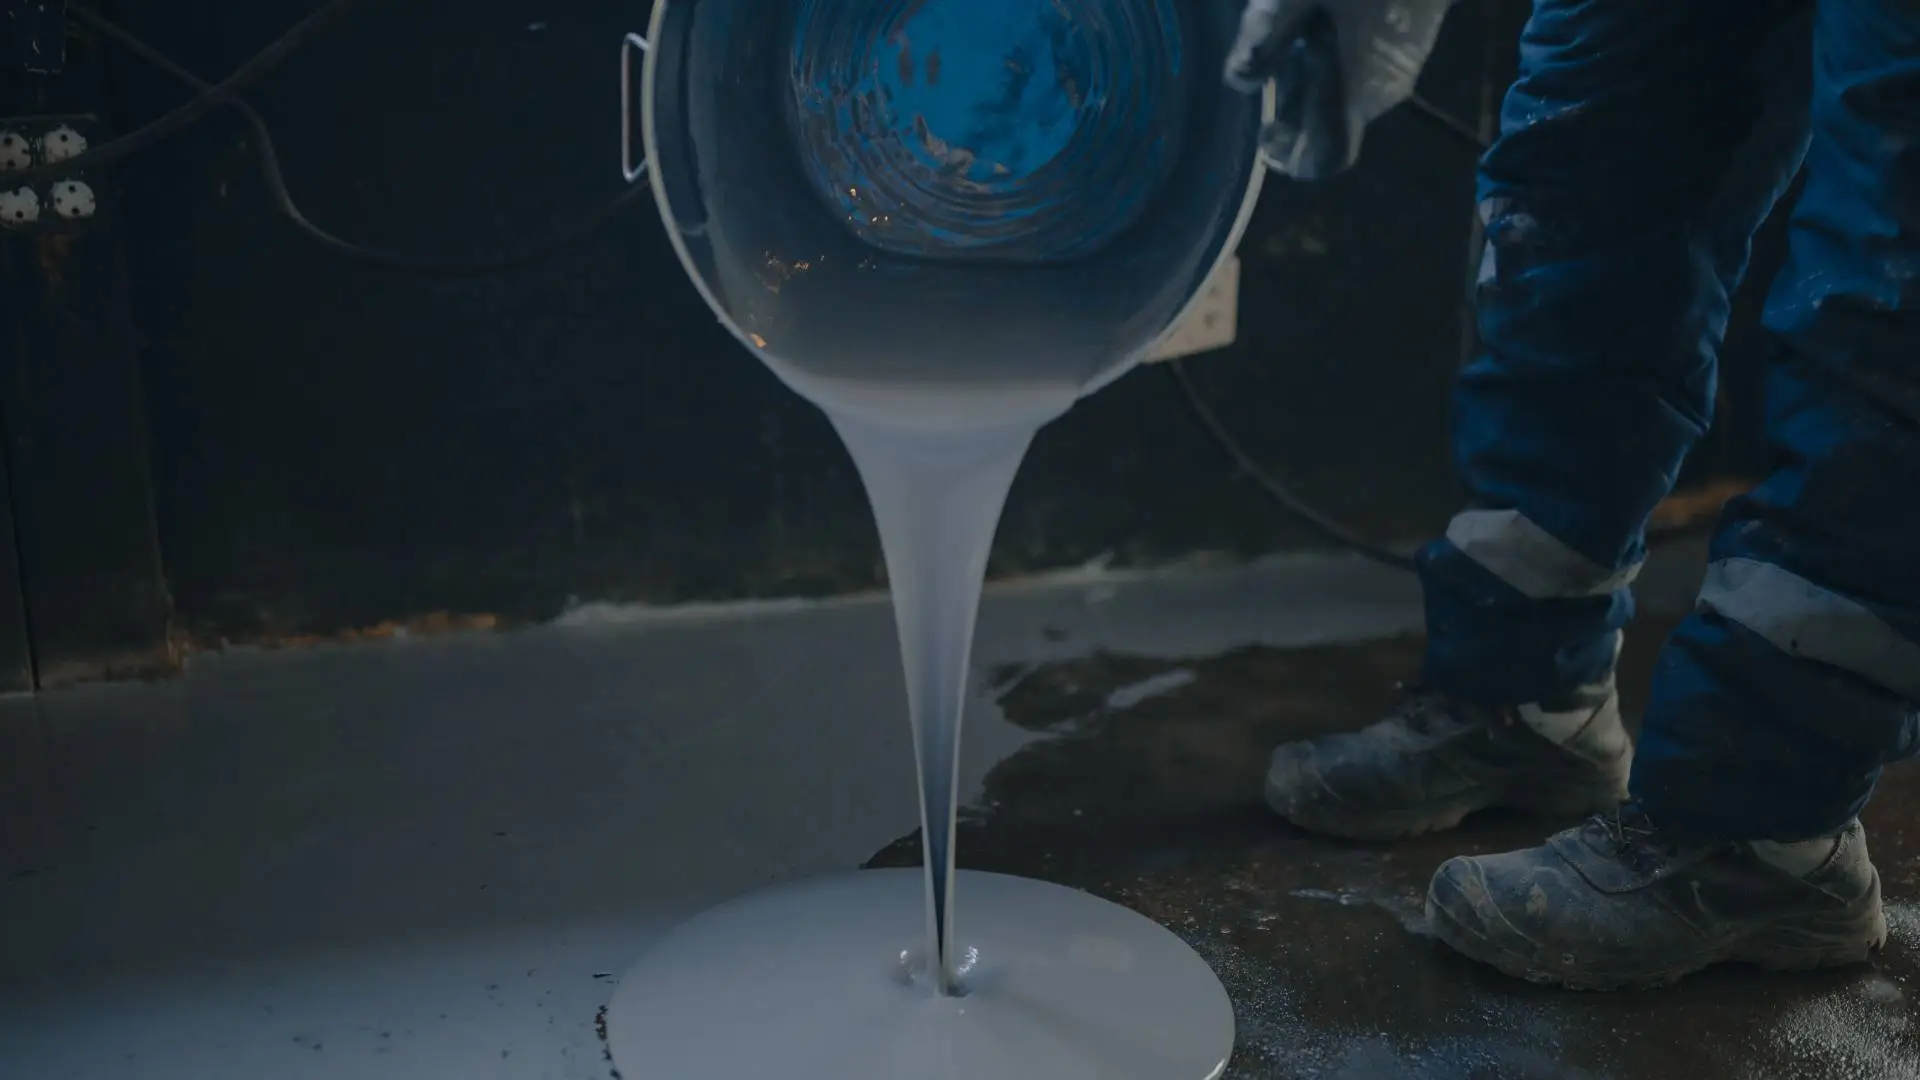
Defining Epoxy Set Time
Epoxy “set time” is the period when the applied epoxy transitions from a liquid or gel-like state to a surface that’s no longer tacky to the touch. During this interval, the epoxy begins to bond internally, creating the skeleton for what will eventually become a solidified floor coating. You often see references to “set time” in product guides to indicate when you can safely add another layer or lightly walk on the surface.
What Happens During Set Time
- Initial Polymerization: Right after you mix your resin and hardener, the chemical reaction begins. This reaction releases heat, and the epoxy starts to thicken.
- Surface Hardening: As the reaction continues, the epoxy becomes firmer at the surface. This is often called the “green stage,” because while it might look solid, the epoxy isn’t fully cured.
- Limited Handling: Once the epoxy has set, you can lightly touch the surface without leaving fingerprints. However, putting heavy loads or machinery on it at this point is a bad idea.
- Recoat Window: If you plan on adding multiple layers (like decorative flakes or a topcoat), your product’s recommended recoat window usually starts after set time.
By respecting the set time, you ensure each epoxy layer adheres properly. Skipping or rushing through set time can lead to weak bonding, especially if you add more layers too early or start using the surface prematurely.
Understanding Epoxy Cure Time
“Cure time” refers to how long it takes for the epoxy to fully harden and reach its maximum strength. Think of it as the epoxy’s final form. If set time is about becoming touch-dry, cure time is about achieving complete chemical crosslinking, which results in a fully bonded surface that’s ready for regular (and even heavy) use.
What Happens During Cure Time
- Deep Chemical Bonding: Through crosslinking, the resin and hardener molecules form incredibly tight, interwoven chains.
- Maximum Hardness: The coating becomes highly resistant to scratches, chemicals, and abrasion as the cure process nears completion.
- Longevity and Durability: A fully cured epoxy floor delivers its best performance over time, resisting everything from vehicle traffic to daily foot traffic.
- Final Properties: Once it’s fully cured, the epoxy exhibits the color, clarity, and finish you expect — whether it’s glossy, matte, or textured.
During cure time, the epoxy is strengthening beneath the surface, even if it appears solid. If you subject the floor to heavy loads or harsh chemicals before the epoxy has fully cured, you risk compromising adhesion and structural integrity. Proper cure time is the backbone of epoxy’s renowned strength and longevity.
Factors Affecting Epoxy Set Time vs Cure Time
While product labels provide rough timelines, the actual set and cure durations often fluctuate based on various conditions in your environment. You gain a significant advantage by knowing these factors and adapting your approach accordingly.
- Ambient Temperature
- Effect on Set Time: Higher temperatures accelerate chemical reactions, shortening the set time. Cooler temperatures slow it down.
- Effect on Cure Time: Prolonged cold can significantly extend cure time and may even prevent full curing if it’s too low.
- Your Strategy: Warm, climate-controlled environments usually yield more predictable outcomes.
- Humidity Levels
- Effect on Set Time: High humidity can lead to surface blush or condensation, interfering with proper initial hardening.
- Effect on Cure Time: Extended moisture exposure can cause cloudiness or weaken the coating’s final structure.
- Your Strategy: Work in a dry environment when possible. If humidity is an issue, consider dehumidifiers.
- Product Type and Mix Ratio
- Effect on Set Time: Different epoxy formulas come with varied pot lives and recommended mix ratios. Deviating from these ratios can speed up or delay set times unpredictably.
- Effect on Cure Time: A correct mix ratio ensures a complete chemical reaction, leading to consistent cure times. Overloading either the resin or the hardener may result in an improperly cured floor.
- Your Strategy: Always follow the manufacturer’s mixing guidelines precisely.
- Thickness of Application
- Effect on Set Time: Thicker layers often generate more heat internally, potentially speeding up set time.
- Effect on Cure Time: While thicker layers might initially set faster, they can also trap heat and create stress in the material, extending the overall time needed for a complete cure.
- Your Strategy: Apply each layer at the recommended thickness to balance set and cure times effectively.
Practical Tips to Navigate Set vs Cure
You’re likely eager to use your newly coated floor, but jumping the gun can jeopardize the entire project. With that in mind, here are some practical tips to help you manage the timeline correctly:
- Plan Your Work in Phases
- Schedule each stage — from surface prep to the final topcoat — according to the recommended set times. This ensures you’re never working on an “immature” layer.
- Wait the Full Cure Before Heavy Use
- Even if your floor feels solid, wait the recommended full cure before exposing it to heavy machinery, high foot traffic, or strong chemicals.
- Respect the Recoat Window
- If you’re applying multiple layers, follow the product’s recoat window guidance. Some epoxies require you to recoat within a specific timeframe to achieve maximum intercoat adhesion.
- Control the Environment
- Whenever possible, maintain stable temperature and humidity levels. If you can’t control conditions, be prepared for longer set and cure times.
- Test the Surface
- If in doubt, perform a small, inconspicuous test to see whether the epoxy is truly dry to the touch or whether it can handle mild pressure. This simple test can reveal if you’ve met the “set” milestone.
Common Mistakes and How to Avoid Them
Knowing what not to do is just as crucial as knowing the proper steps. You reduce your risk of mistakes when you’re aware of the pitfalls that commonly derail epoxy projects.
- Rushing the Process
- What Happens: You see that your epoxy appears dry and assume you can start heavy usage.
- Why It’s Harmful: The surface may still be structurally weak, leading to peeling or cracking.
- Prevention: Always adhere to the full recommended cure time, even if everything “feels” dry.
- Ignoring Environmental Conditions
- What Happens: High humidity or temperature swings impact both the chemical reaction and the floor’s final appearance.
- Why It’s Harmful: You could end up with uneven surfaces, bubbles, or discoloration.
- Prevention: Monitor your space’s temperature and humidity with a reliable gauge. Use climate control when possible.
- Inaccurate Mixing
- What Happens: You deviate from the manufacturer’s specified ratio, or you improperly blend the components.
- Why It’s Harmful: Partially cured epoxy with inconsistent hardness can form.
- Prevention: Use precise measuring tools, and mix thoroughly per the product’s instructions.
- Over-Application of Thick Layers
- What Happens: You might assume more is better, or you want to finish in fewer coats.
- Why It’s Harmful: Trapped heat and stress can cause internal damage, elongating cure time and weakening the epoxy.
- Prevention: Stick to the recommended thickness and layering instructions provided by the product.
When Can You Actually Use Your Floor?
This question boils down to distinguishing between “walk on” and “full service.” Generally, you can walk lightly on the floor after it has passed its set time (often 12 to 24 hours, depending on the product). However, you’ll want to wait until the epoxy has fully cured before placing large furniture, driving a vehicle over it, or cleaning with harsh chemicals. Some products reach full cure in about 72 hours, while others need a full week.
Light Foot Traffic
- Allowed Once: Set time is complete, and the surface can handle light pressure.
- Limitations: Keep heavy furniture and equipment off the floor at this stage.
Full Service
- Allowed Once: The epoxy has completely cured, achieving top-tier strength.
- Benefits: The coating resists abrasion, chemicals, and heavy loads.
Extending the Lifespan of Your Epoxy Floor
You’ve put in the effort to respect both set and cure times, so naturally, you want your flooring to last. Proper maintenance starts with gentle cleaning during the first week and continues with periodic checks to ensure the epoxy remains free of deep scratches or abrasions.
- Gentle Cleaning
- Avoid using extremely hot water or abrasive brushes until the epoxy has completely cured. Mild, pH-neutral cleaners work best.
- Use Protective Pads
- Place pads under furniture and heavy equipment. This prevents scraping, which can shorten the floor’s lifespan if repeated often.
- Prompt Spill Cleanups
- Epoxy is chemically resistant, but prolonged contact with corrosive substances can degrade its surface. Clean up any chemical spills immediately to preserve the finish.
- Regular Inspections
- Take a few minutes to inspect your floor for any chips or cracks. Early detection can make small repairs more effective.
The Final Word on Epoxy Set Time vs Cure Time
By now, you understand that epoxy set time vs cure time each serve a vital role in the life cycle of your epoxy floors. You know set time is about early-stage hardening and readiness for recoats or light traffic, while cure time is about reaching the pinnacle of strength and durability. Differentiating these stages protects your investment, ensures a safer working area, and results in a top-quality finish that stands up to everyday challenges.
Take the time to plan your project phases properly and remain patient as the epoxy transitions from tacky surface to rock-solid floor. When you prioritize correct set time and cure time, you’re positioning your floor to last longer, look better, and serve as a testament to your attention to detail. It may require a little extra waiting, but the reward—a pristine, resilient floor—makes it all worthwhile.

